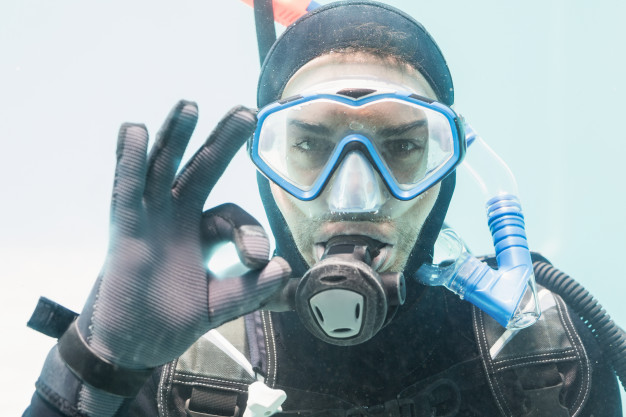
The diving regulator is the single most important equipment that ensures a diver’s survival while underwater. It is so crucial to any diving operation that every regulator must have a spare regulator (also known as the octopus) in case the primary regulator malfunctions.
Previously we’ve written about how to perform a general pre-dive safety check and a scuba buoyancy check. In this post, you will learn how to perform a simple but vital quality check on your diving regulator before diving.
4 Quality Checks to be performed
Regulators undergo yearly maintenance (or tune-ups). While it is okay to rely on trusted professionals to maintain the regulator for you, it would be beneficial to double-check your equipment after maintenance and before diving.
1. Inspect for external corrosion, discoloration, wear and tear
Discoloration and small patches of rust occur because salt water is many times more corrosive than freshwater. If you spot discoloration or corrosion on the first stage inlet near the filter, it is a strong hint that water has breached this area. In this case, you must have your first stage serviced.
In a piston first stage, the ambient pressure chamber is more prone to water damage because water naturally comes into contact with the moving parts (the bias spring and O-rings). Since you cannot see the inside of the ambient pressure chamber, yearly maintenance is necessary.
The technician services this part with a weak acid bath and ultrasound to get rid of particles that can disturb the movement of the valves, but will also replace the moving parts when the damage is too severe.
However, a diaphragm first stage tends to have a lower maintenance frequency because the water only comes into contact with the bias spring. This is a better option for serious deep divers.
Don’t forget to check the hoses for any obvious wear and tear or rotted rubber.
2. Inspect for loose connections
A regulator consists of several components (hoses, stages, octopus and pressure gauge) that are screwed together at each connective ends. Use a fixed wrench to check for tightness on every connection (a variable wrench easily slips or moves too much when used for regulator connections).
The connections must be at least hand tight to prevent accidental loosening of already loose connections. Remember: any bit of water that enters any part where it doesn’t belong is not safe!
3. Performa positive pressure test
Once your regulator is connected to a cylinder, open the valve and let the air pressurize the entire system of your gear. Then close the valve after about 10 seconds, and take note of the pressure needle (or digits) on the gauge (or dive computer).
Leave the regulator alone for at least 20 minutes. If there is a pressure drop of more than 10 psi (almost 1 bar), then there is a leak. Alternatively, take the entire system underwater and look for bubbles. Even if it is just a tiny amount of bubbles, the system has a leak – and any leak can potentially lead to complications.
4. Perform a negative pressure test
This test is used to check whether your second stage is working properly. Open and close the valve in a similar fashion with Step 3 above. Then breathe normally through the mouthpiece until a perfect vacuum is created in the system (in which the gauge reads 0 bar).
If the second stage is working properly, it should be impossible to inhale after a perfect vacuum is created. If you are still able to take in a small amount of air, then there must be a leak on either the exhaust valve or the mouthpiece itself.
If you have a downstream second stage and feel saltwater in your mouth as you inhale, then there must be a leak on either the diaphragm or exhaust valve.
Perform these four simple checks after each maintenance and before every diving session. Preventing problems is just as important as solving problems during an emergency situation. If you already have a PADI Open Water certificate, you have the required skills to apply for the PADI Rescue Diver course.


