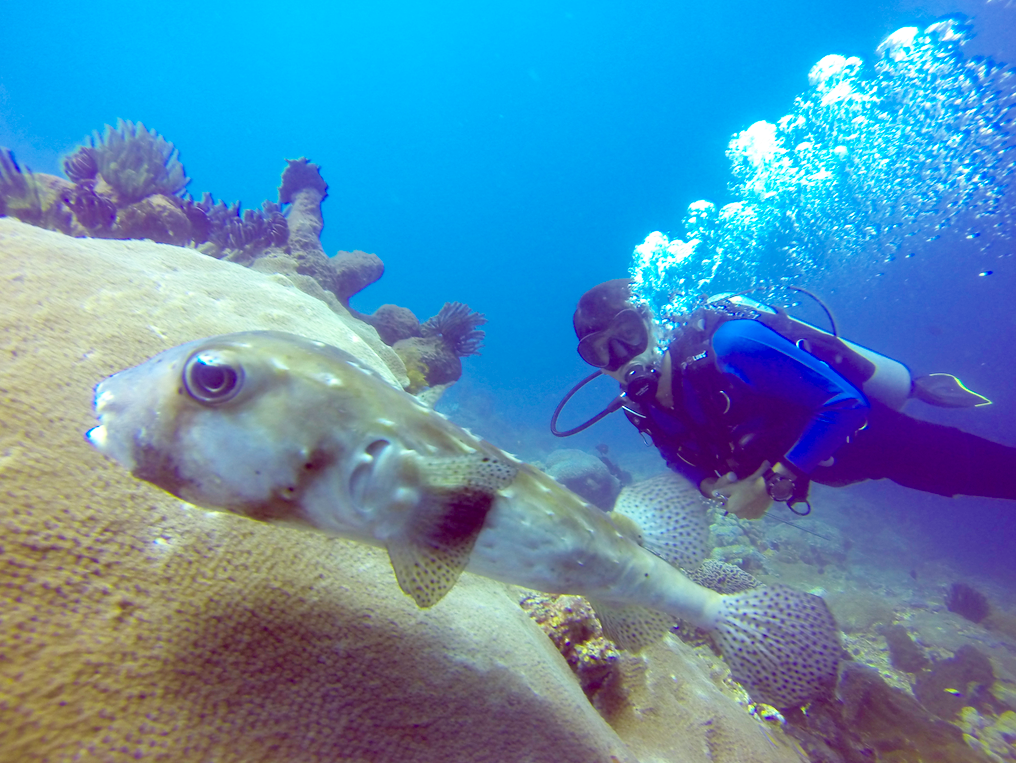
Hi there fellow divers, for those of you looking for a comprehensive videography blog I’m afraid this isn’t for you (maybe wait a few weeks till I finish my videography specialty instructor course!) However, if you would like a few simple tips for improving the video footage of your dives then read on.
So often I have taken pictures and videos on a dive only to return to shore and find they were fuzzy, shaky, or just not the same vibrant colour I had seen underwater. Here are a few simple tips I have picked up to make my footage just that bit better.
1. Keep it steady – there’s nothing worse than watching video playback that gives you motion sickness. Try mounting your camera on a handle or even better a photography tray to stabilise your filming. Many underwater cameras such as GoPro have specially designed handles and tray mounts, or you can even make your own! But even if you do not have a mount then to achieve a consistently stable shot simply pressing the camera against your forehead as you film can help support the camera tracking. You just need to securely support the camera and lock your elbows into your sides while filming, that way your footage will be less shaky and much more professional looking.
2. Colour correction – quite often the colour of footage can be spoilt by the light absorption properties of the water around you when filming anywhere deeper than 4 meters. Most often this results in footage that is too blue and lacking contrast, this can be easily overcome by using a clip-on colour filter for your camera lens. In tropical blue waters a red filter will correct the colour effectively, in freshwater lakes or reservoirs, or during algal blooms when the water absorption of light makes it appear green then a magenta filter works best. By using a filter you will get added definition to your footage and will need to make less colour corrections during post-capture processing.
3. Select you settings – many underwater cameras, even simple ones, still have multiple option settings that most people disregard and just use the default settings. However it is important to consider what it is you will film and what you would like to do with the footage, that way you can set the capture setting appropriately. For example some cameras allow for you to set the number fps frames-per-second captured; anything around 60fps is very high and is great if you want to film fast moving action or if you will be showing the footage in slow motion and want a smooth playback. Unfortunately they can be very high storage capacity videos so if you want to avoid filling up the memory of your device when you load the videos for viewing then 30fps is fine for normal playback rate and filming of slow or normal pace footage. Similarly set the resolution appropriate for how you will use the footage, remembering that a high resolution will mean clips have a larger storage volume!
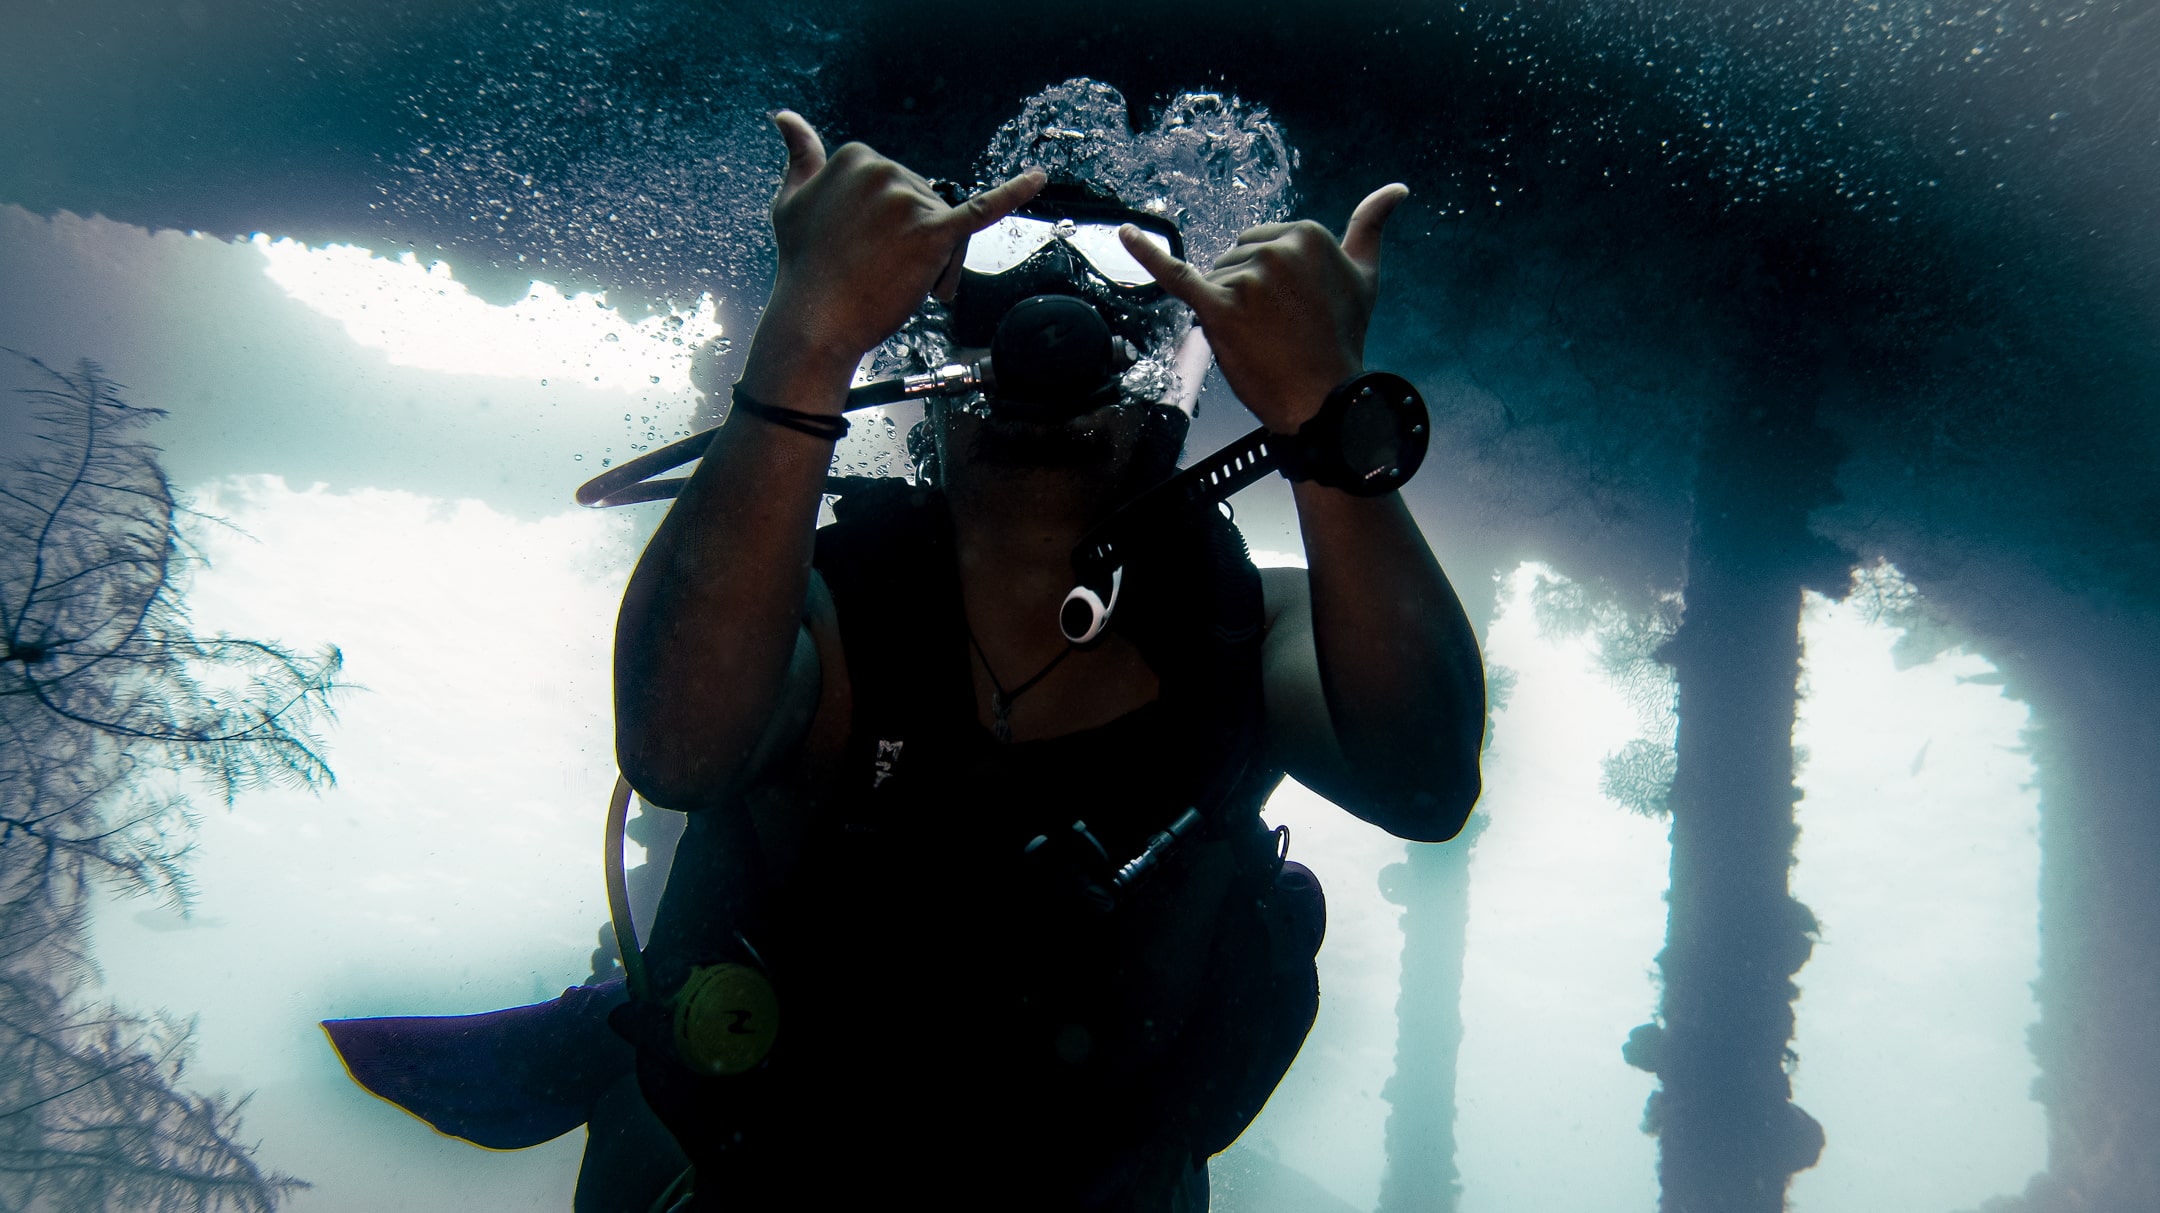
4. Make it fun – the last tip is just about the actual action of filming, to consider the angles and the subject matter and to have a play with it. We are not expecting to produce Spielberg level wide-angle shots or sweeping panoramas, but it is still an opportunity to work on your capture style. For example most amateur dive footage has subjects filmed from above as the diver moves over the reef, but perhaps consider playing with your angles a little; filming through a rocky hole, or rising your shot up over the crest of a sea fan. Even if you are simply filming your dive buddies, have a play with the lighting; perhaps a silhouette shot of them from below, or using them as a scale comparison to show the startling topography relief of a wall drop-off. Anything you choose to do will be your own style and that’s the best part, so don’t forget a bit of in your footage capture.
That’s all on videography from me for now, remember no matter what kit you have everyone can get out there and capture some stunning footage, the key is just to keep it steady, colour balanced, adjust the settings, and have fun! If you managed to get some good footage or shots on a recent dive please post some clips below or let us know any other tips you may have for budding underwater videographers.
If you’re interested in learning more why not sign-up for the PADI underwater videographer course here at Blue Season Bali and really get your footage looking pro! Last thing to remember is always protect the aquatic environment when filming staying aware of your buoyancy and equipment so we can all continue to capture shots of the beautiful underwater world.


